Embroidery Stitch
Chain Stitch (Embroidery)
Last updated August 3, 2026
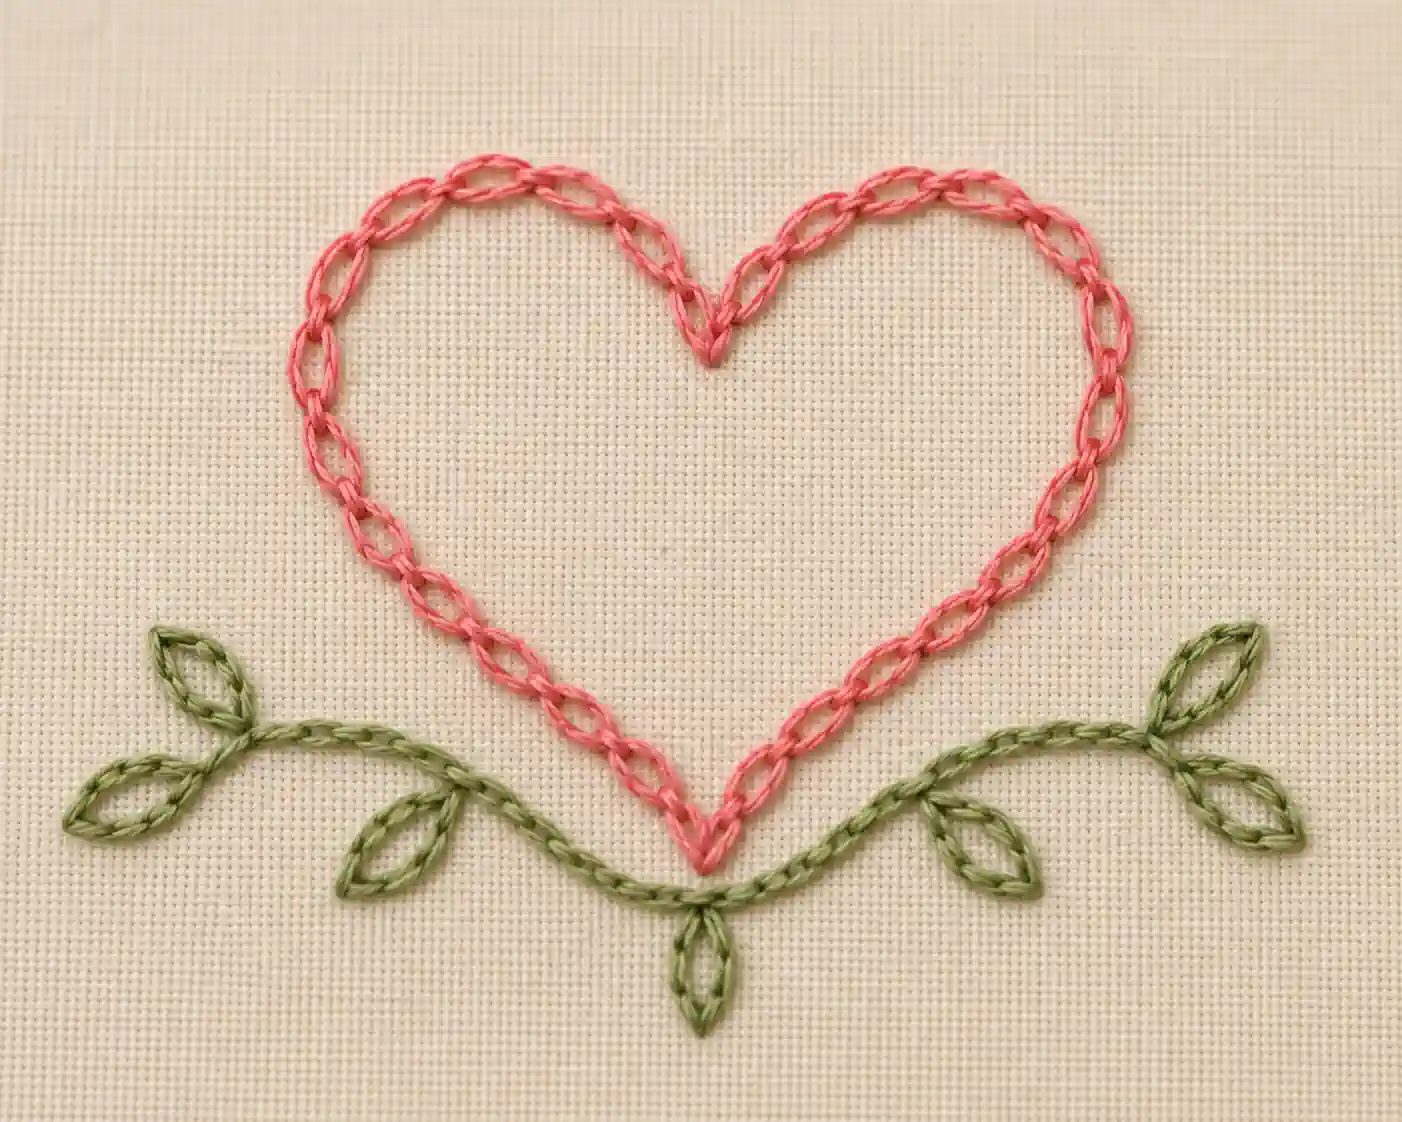
Used For
- Decorative embroidery
- Outlines
- Lettering
- Filling shapes with rows of chain
A looped embroidery stitch that links each stitch into the next, forming a chain-like line used for outlines and decorative lettering.
Instructions
- Bring the needle up through the fabric at your starting point.
- Insert the needle back down at almost the same spot where the thread emerged, but don't pull it through yet.
- Bring the needle tip back up a short distance ahead, catching the working thread under the tip as you pull through - this loop forms the first chain link.
- Insert the needle back down just inside the loop you just made, and bring the tip up another short distance ahead, again catching the thread under the tip.
- Continue along your line, always starting each new stitch from just inside the last loop.
- To finish, make one small stitch over the last loop to tack it down.
Tips & Notes
- Each loop of the chain locks the one before it in place, which is why the line holds its shape even before the whole design is finished.
- Keeping consistent tension on the loop, not too tight and not too loose, is what keeps the chain links looking even and rounded rather than squashed or baggy.
- A single chain stitch worked alone and tacked down, rather than continued into a line, is called a "lazy daisy" stitch, commonly used for flower petals.