Hemming Stitch
Hemming Stitch (Catch Stitch)
Last updated August 3, 2026
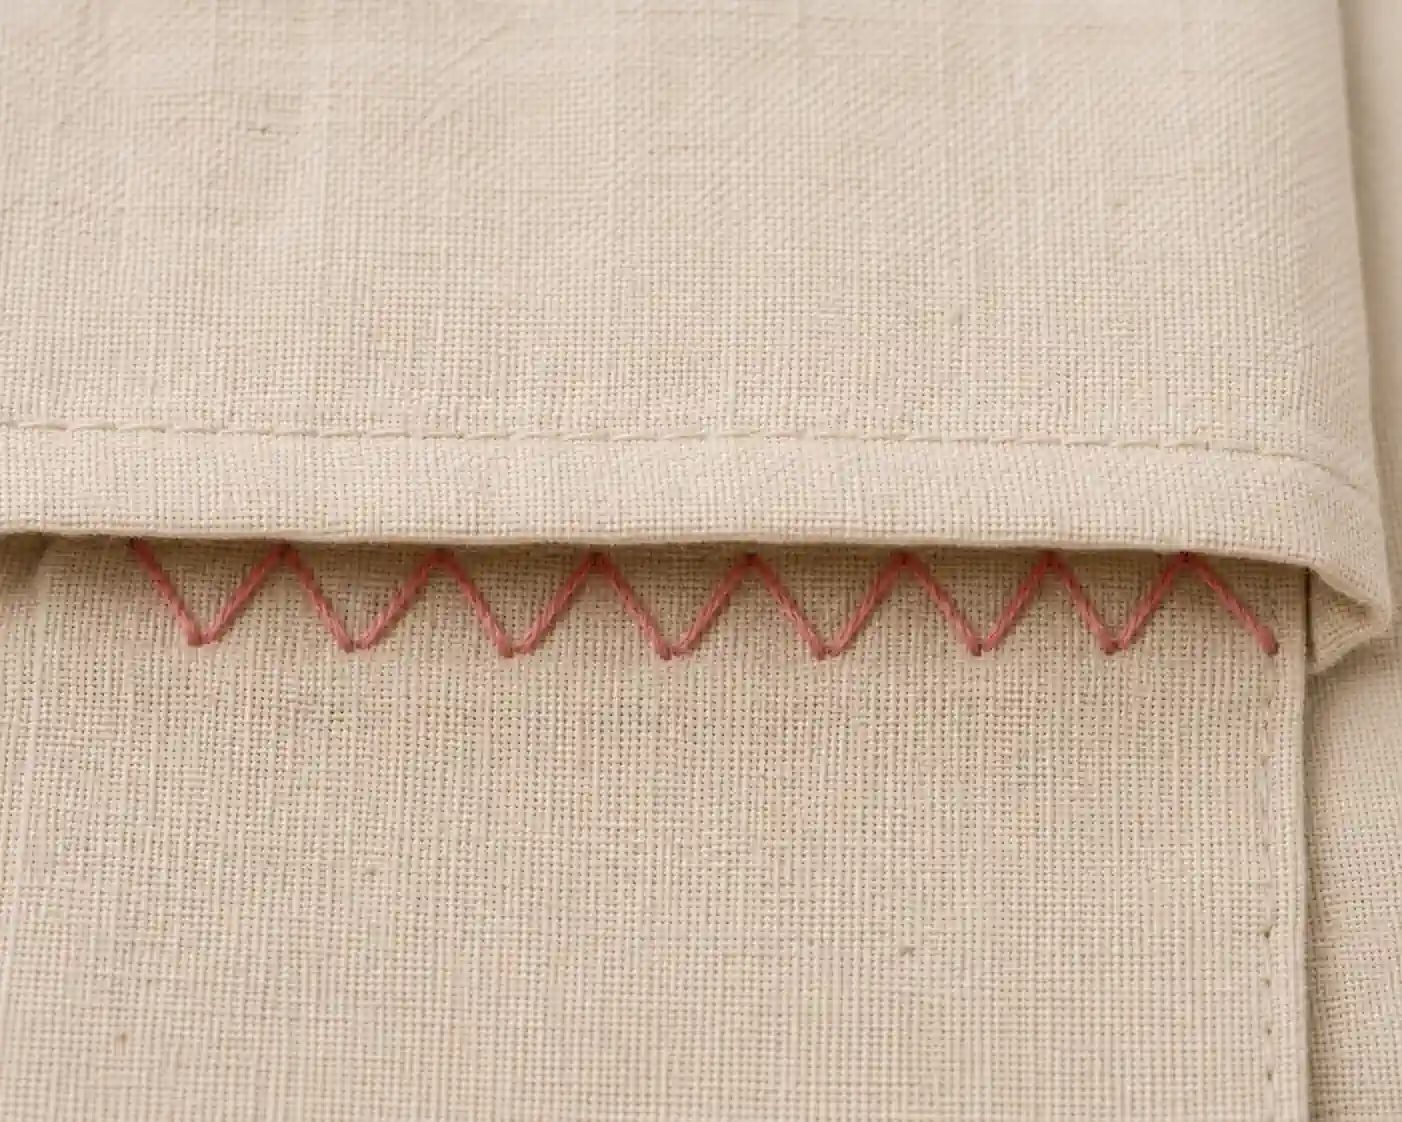
Used For
- Hems on garments
- Securing raw edges
- Hems in fabrics that need some stretch
- Interfacings and facings
A zigzagging stitch worked left to right with the needle pointing backward, used to secure a hem while allowing a little give.
Instructions
- Fold the hem up to where you want it and pin or press it in place, working from left to right with the needle pointing back to the left.
- Bring the needle up through the hem allowance, just below the folded edge.
- Take a tiny stitch in the main fabric a short distance up and to the right, catching only a thread or two.
- Take another small stitch in the hem allowance, again a short distance up and to the right of the last stitch.
- Continue alternating between the main fabric and the hem allowance, moving left to right, so the stitches cross in an X or zigzag pattern.
Tips & Notes
- Working backward, with the needle pointing the opposite direction from your stitching direction, feels unusual at first but is what gives catch stitch its distinctive crossed pattern.
- The crossed stitches have a little built-in give, which makes catch stitch a good choice for hems on fabrics that need to stretch or move.
- Keep the stitches on the visible main fabric extremely small and shallow - the hem allowance stitches can be a bit larger since they won't show.