Technique Stitch
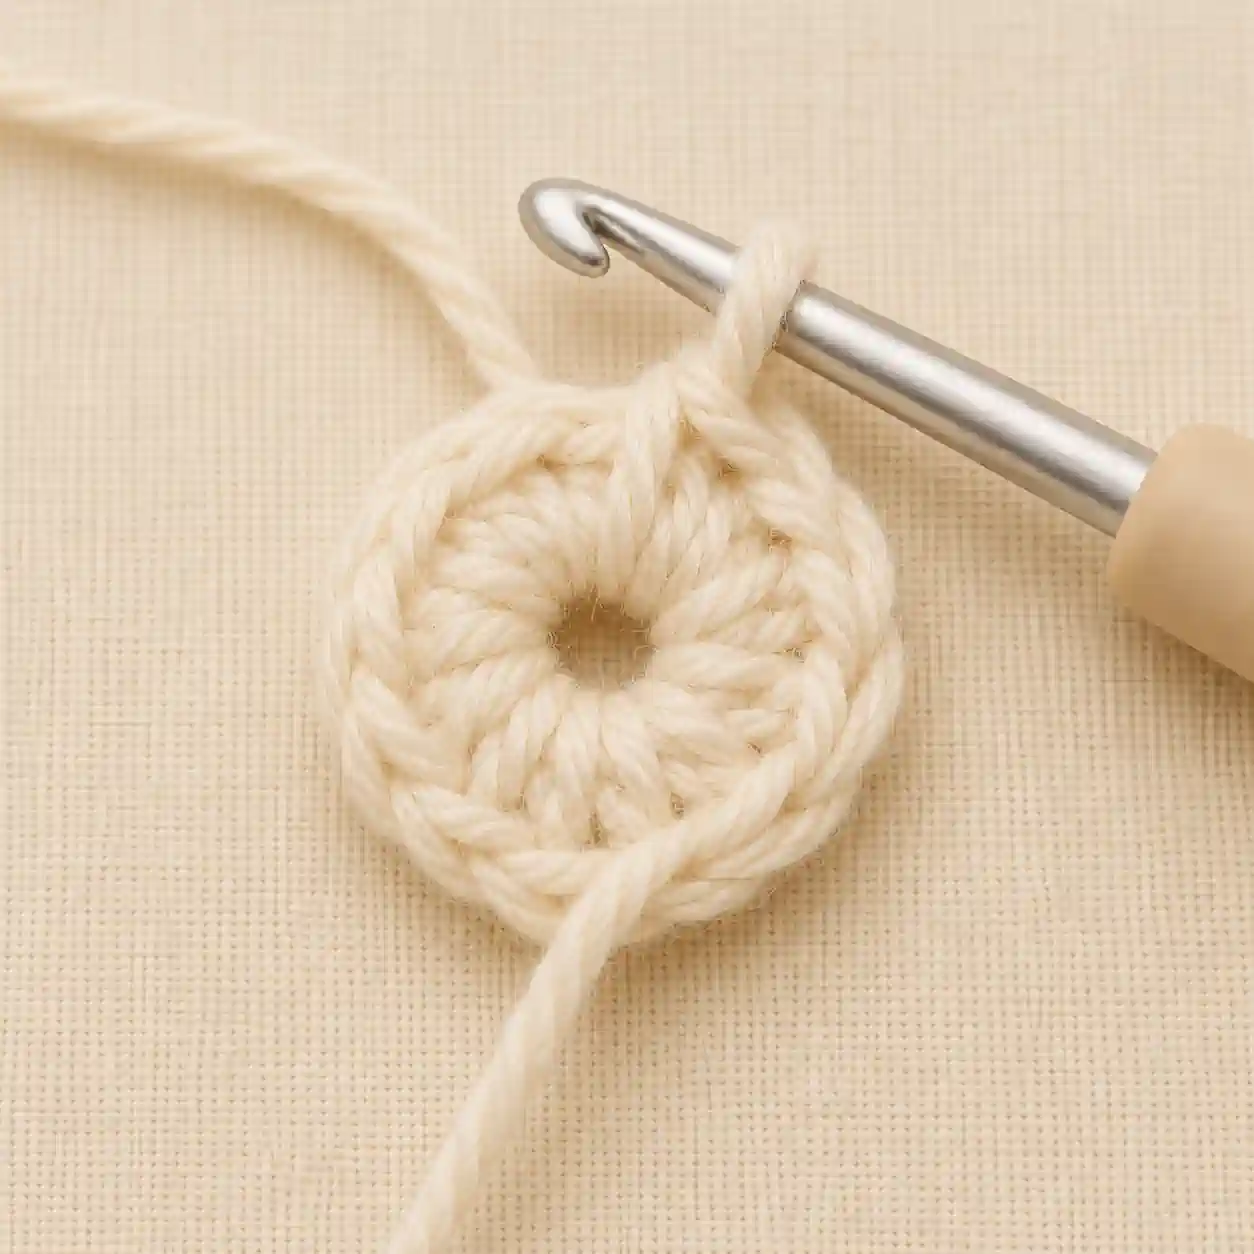
Amigurumi Magic Ring / Magic Circle
Last updated August 3, 2026
Used For
- Amigurumi
- Circular motifs worked from the center out
- Hats worked from the crown
- Any project needing a hole-free center
An adjustable starting loop that lets you cinch the center hole completely closed - the standard way amigurumi and other worked-in-the-round pieces begin.
Instructions
- Loop the working yarn around two fingers so the tail crosses over the working yarn, leaving a circle.
- Insert your hook into the circle, yarn over, and pull a loop through - this loop stays on your hook and does not count as a stitch.
- Chain 1 if working single crochet, then work your first round of stitches directly into the circle, over both strands of yarn.
- Once your first round of stitches is complete, pull the yarn tail firmly to cinch the center of the circle closed.
- Join the round with a slip stitch to the first stitch, or continue in a spiral, as your pattern directs.
Tips & Notes
- Because both the tail and working yarn get crocheted over, the tail is already partially woven in by the time the ring closes.
- If you're new to magic rings, practice cinching a few times before starting your project - a ring that won't close tight enough leaves a visible hole.
- A chained loop (chain 2-4, join with a slip stitch) is a simpler fallback if a magic ring feels fiddly, though it leaves a small permanent hole at the center.